
When sending survey invitations manually, you can include custom fields in your CSV file.
These fields let you filter and analyze responses by criteria such as location, department, recruiter, etc.
What are custom fields?
Properties, also called custom fields, are additional data points attached to each contact and response. They help you organize, segment, and analyze feedback more effectively in Starred.
Common examples include:
-
Location
-
Department
-
Country
- RecruiterName
-
JobName
✅ Once added, these fields become available as filters in your dashboards, allowing you to compare results by team, region, role, or other criteria.
⚠️ Custom fields can only be added when inviting via CSV. They cannot be added when entering contacts manually.
How to create an invitation file with custom fields
Step 1. Set up your spreadsheet:
- Open Google Sheets, Excel, or a similar tool
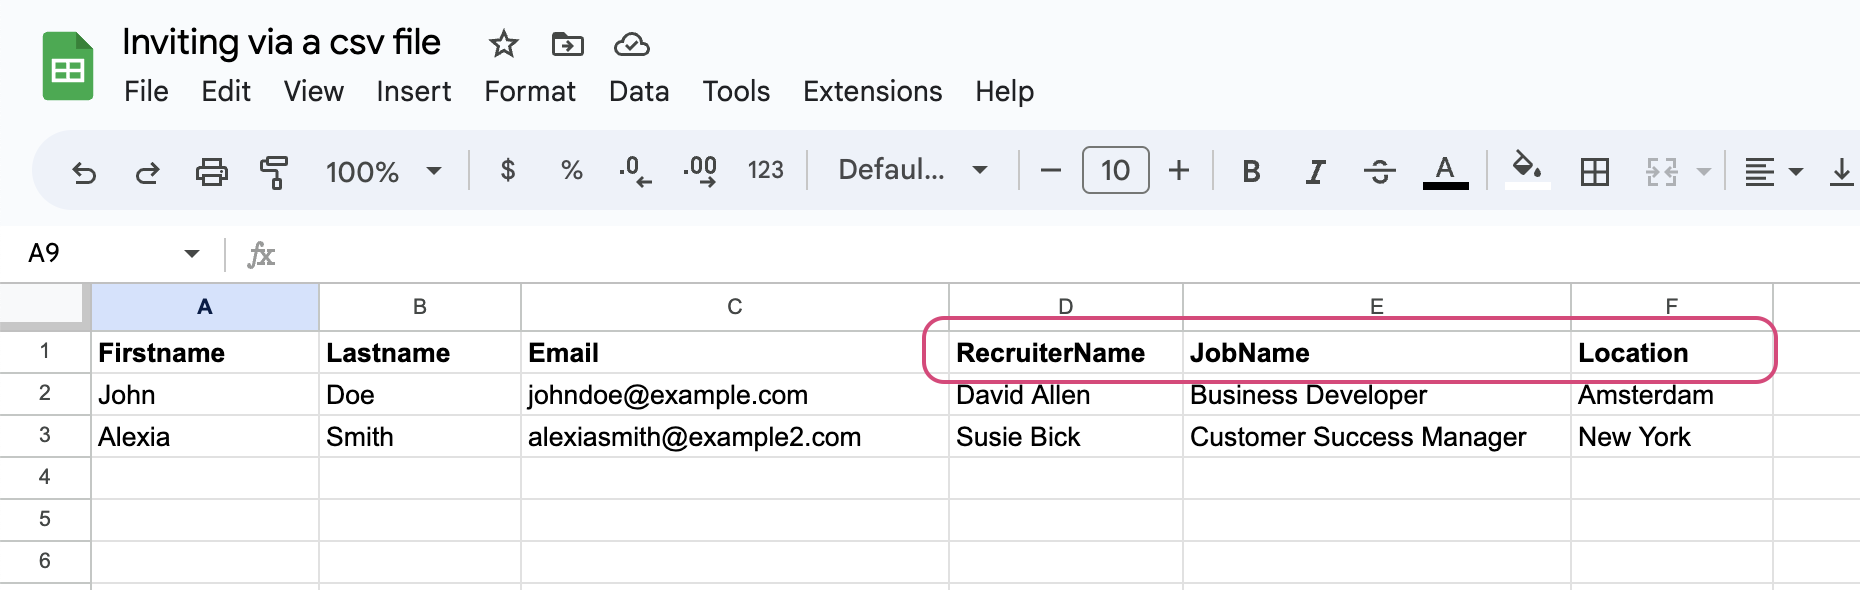
- Add FirstName, LastName and EmailAddress as the first three columns. See example:

It does not matter how you spell first name, last name and email address as long as you reserve the first 3 columns for those fields.
- Add any custom fields from column D onwards. Each column header becomes a custom field in Starred. See example:
🎥 Prefer watching instead? Scroll down for a short video on how to set up your spreadsheet!
Step 2. Save your file as CSV
-
Export the file as a .CSV (comma-separated values) format so it can be processed correctly.
Step 3. Upload your file in Starred
-
Find your survey in your Survey Overview →
-
From the dropdown menu, select Invite respondents
-
Select Upload CSV file
-
Upload your saved file
Starred will automatically map your columns. Once responses come in, you can filter results using your custom fields.
Tips and best practices
| ✅ Always include first name, last name, and email address as first 3 columns. | These columns are required, even if some values are empty. It does not matter how you spell first name, last name and email address as long as you reserve the first 3 columns for those fields. |
| ✅ Be consistent with naming | Custom field names and values are case-sensitive. Use the same format everywhere (e.g., RecruiterName, not recruitername or Recruiter Name). |
| ✅ Avoid spaces in custom field names | Use camel case or underscores: JobName, Hiring_Manager |
|
✅ Keep naming consistent across surveys |
Using the same custom field names ensures unified dashboard filters. |
|
✅ When adding custom fields to your CSV file, you can personalize invitation emails by inserting those fields into the message. |
Use the custom field name preceded by @ (e.g., @JobName, @Location, @RecruiterName). |
|
✅ Keep your file size below 500 contacts for faster processing |
Maximum file size: 20 MB |
|
✅ Starred supports all UTF-8 characters |
If you see unusual symbols, make sure you’re opening the file with UTF-8 encoding. |
How to create an invitation file with custom fields (video)